Kubernetes
- NBomber Studio is provided as a Docker image and requires a Postgres database (with the TimescaleDB extension) for storing metrics.
- TimescaleDB is a Postgres extension for time series data. In our examples, we will use the
timescaledbimage, which contains Postgres with TimescaleDB already installed. During the first run, TimescaleDB will run an auto-tune process to optimize Postgres for time-series workloads. - NBomber Studio works perfectly with a single-node Postgres database — it doesn't require running a heavy cluster.
- NBomber Studio should be deployed as a single instance (Pod).
Prerequisites
Before you start, make sure you have:
- A running Kubernetes cluster (v1.24+) with a default
StorageClassconfigured for Persistent Volumes. kubectlconfigured to access the cluster.- Helm 3.x installed locally.
You can verify everything is ready with:
kubectl cluster-info
helm version
kubectl get storageclass
Installation
To install NBomber Studio in Kubernetes, we provide two Helm charts:
- Timescale — a Helm chart for deploying a single-node Timescale (OSS) instance to be used with NBomber Studio.
- NBomber Studio — a Helm chart for deploying a single-node NBomber Studio.
Both charts will be installed into the same namespace (nbomber-studio) so they can talk to each other over the cluster-internal DNS.
Step 1 — Install Timescale
This chart deploys:
- A single-node TimescaleDB (OSS) StatefulSet
- A ClusterIP service for internal access
- Optional secret management for PostgreSQL credentials
- Persistent storage for database data
It is designed for simplicity and can be used in development, testing, or production environments.
Add the chart repository:
helm repo add timescale https://pragmaticflow.github.io/nbomber-timescale-helm/
helm repo update
Install the chart. It requires a Postgres password to be set — for production use a Kubernetes Secret; for this walkthrough we pass it as a CLI argument for simplicity:
kubectl create namespace nbomber-studio

helm install nbomber-timescale timescale/timescale \
  --namespace nbomber-studio \
  --set postgresql.password=nb_studio_db
By default, this installs a TimescaleDB instance with:
- database:
nb_studio_db - user:
nb_studio_db - 10Gi persistent volume
The --set postgresql.password=... flag above only sets the password; the user and database names come from chart defaults. You'll reuse all three values in the connection string in the next step.
Verify the Timescale pod is running before continuing:
kubectl get pods -n nbomber-studio -l app.kubernetes.io/name=timescale -w
Wait until the pod reaches Running and the readiness probe passes (READY 1/1), then exit with Ctrl+C.
Step 2 — Install NBomber Studio
This chart deploys:
- An NBomber Studio Deployment
- A ServiceAccount, Role, and RoleBinding scoped to the test namespace
- A dedicated test namespace (default:
nbomber-tests) for running NBomber test Jobs and Pods - A ClusterIP service for internal access
- Optional ConfigMap and Secret for configuration overrides
- Optional Ingress resource for external HTTPS access
It is designed for simplicity and can be used in development, testing, or production environments.
NBomber Studio automatically creates a dedicated Kubernetes namespace (default: nbomber-tests) where it deploys and runs NBomber test Jobs and Pods.
Add the chart repository:
helm repo add nbomber-studio https://pragmaticflow.github.io/nbomber-studio-helm/
helm repo update
A PostgreSQL connection string is required. You can provide it inline with config.secret.enabled=true and config.secret.data.PostgreSql.ConnectionString, or reference an existing Secret with config.existingSecret.
Use the full Kubernetes DNS name for the host (e.g. nbomber-timescale.nbomber-studio.svc.cluster.local) so that NBomber test Jobs running in a separate namespace can still resolve PostgreSQL.
Template:
Host=<service>.<namespace>.svc.cluster.local;Port=5432;Username=<user>;Password=<password>;Database=<db>
Install the chart, filling in the values that match the Timescale defaults from Step 1:
helm install nbomber-studio nbomber-studio/nbomber-studio \
  --namespace nbomber-studio \
  --set config.secret.enabled=true \
  --set-string "config.secret.data.PostgreSql.ConnectionString=Host=nbomber-timescale.nbomber-studio.svc.cluster.local;Port=5432;Username=nb_studio_db;Password=nb_studio_db;Database=nb_studio_db"
Verify the Studio pod is running:
kubectl get pods -n nbomber-studio
You should see both the nbomber-timescale-* and nbomber-studio-* pods in Running state.
Access NBomber Studio
The Studio is now running inside the cluster. For a quick first look we'll use standard kubectl port-forward; for production exposure use an Ingress instead.
kubectl port-forward svc/nbomber-studio 8080:80 --namespace nbomber-studio
Then open http://localhost:8080 in your browser. You should see the login form:
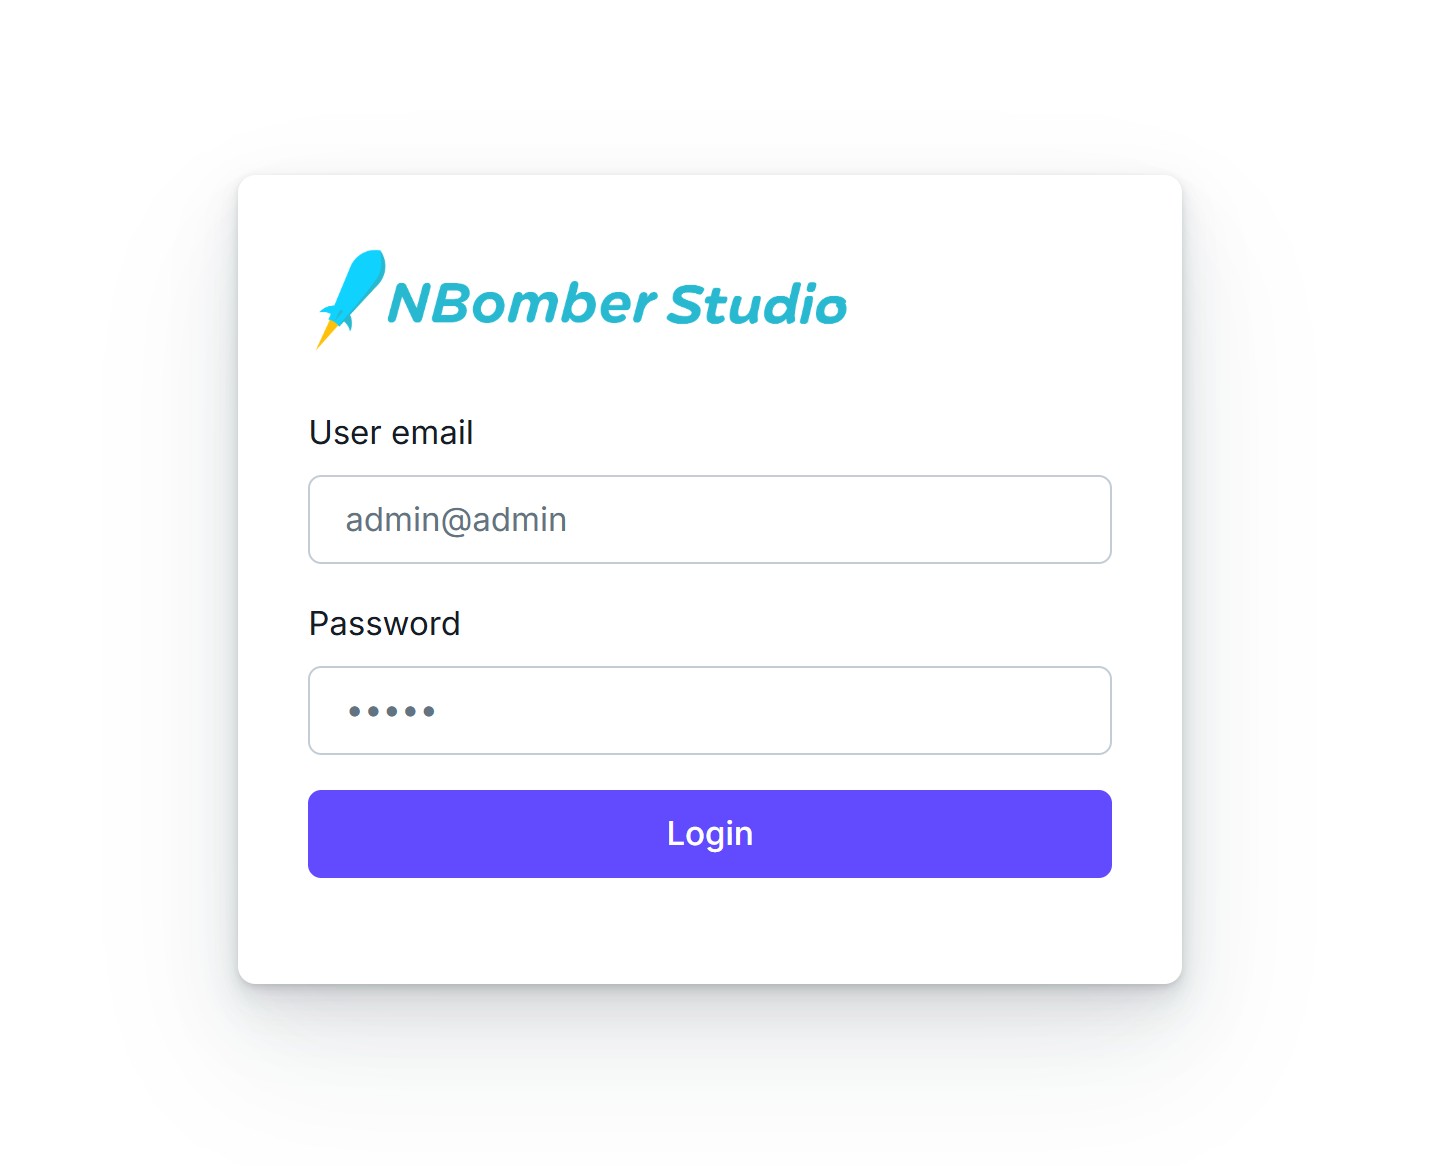
By default, NBomber Studio installs with Static User Auth enabled, so you need to enter the default admin credentials:
email: admin@admin
password: admin
You can disable Auth completely by specifying --set config.secret.data.Auth.Enabled=false:
helm upgrade nbomber-studio nbomber-studio/nbomber-studio \
  --namespace nbomber-studio \
  --reuse-values \
  --set config.secret.data.Auth.Enabled=false
More info about Auth is here.
Run load test
Let's run an NBomber load test that sends metrics to TimescaleDB so we can see them in NBomber Studio. We'll use a basic "hello world" test.
When you run a test from inside Studio, Studio automatically injects two values into the test process — you don't need to configure them yourself:
- the TimescaleDB connection string, and
- the license key (if Studio was started with one).
Create C# load test script
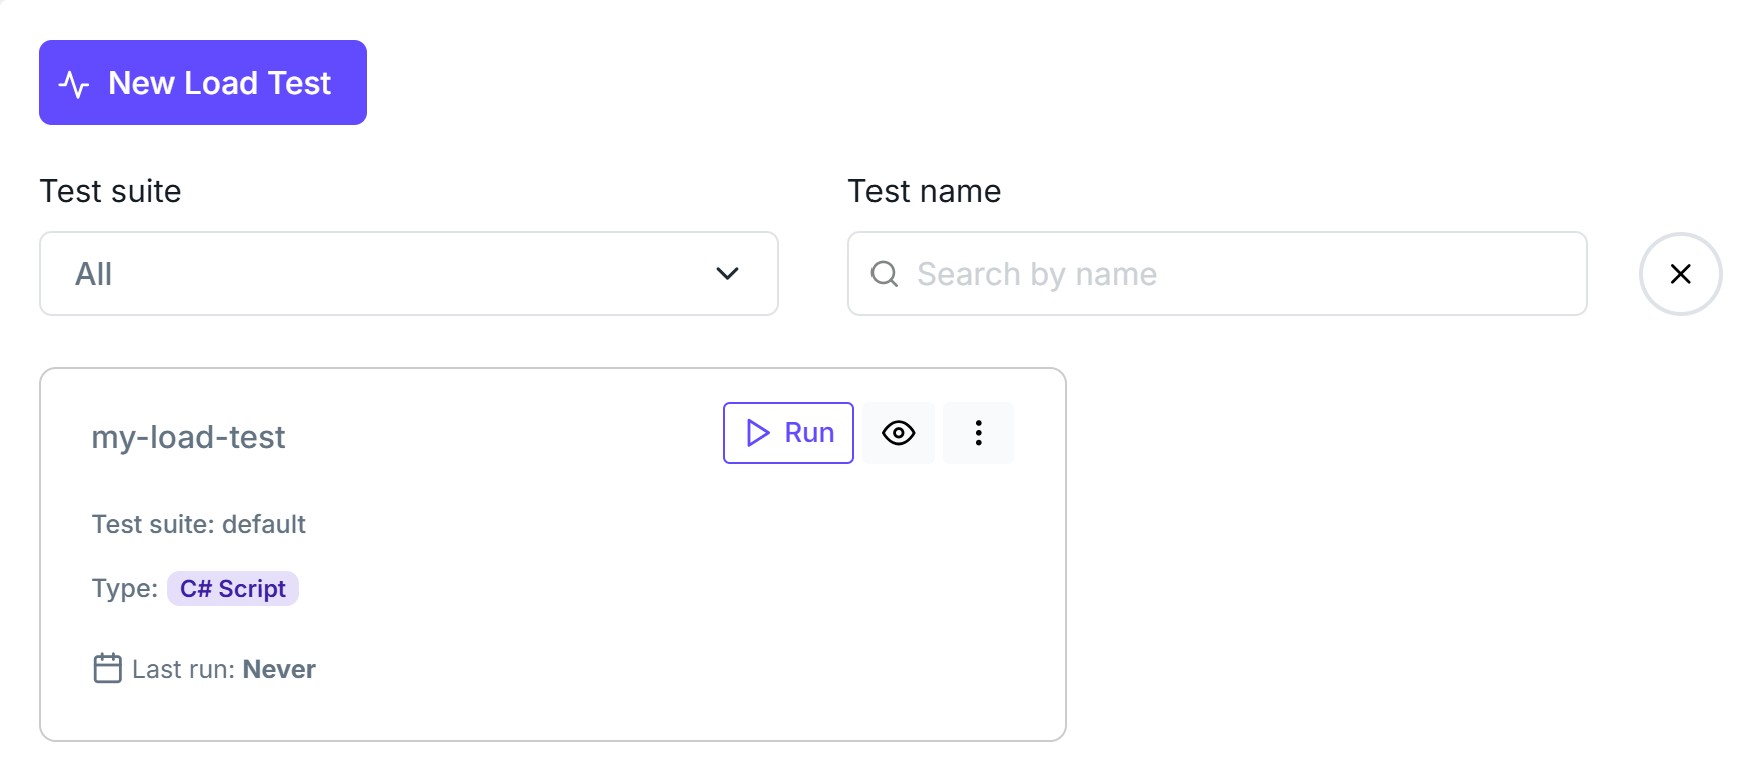
The simplest way to do a dry run is to create a C# load test script. To do this, open the Load Tests view, click the New Load Test button, and then select C# Script.
You should now see the new C# Load Test Script view:

In the Script tab you will find a NBomberRunner configured with TimescaleDbSink:
NBomberRunner
    .RegisterScenarios(scn)
    .WithReportingSinks(new TimescaleDbSink()) // Connection string will be automatically provided by Studio
    .Run(args); // License key will be automatically provided by Studio
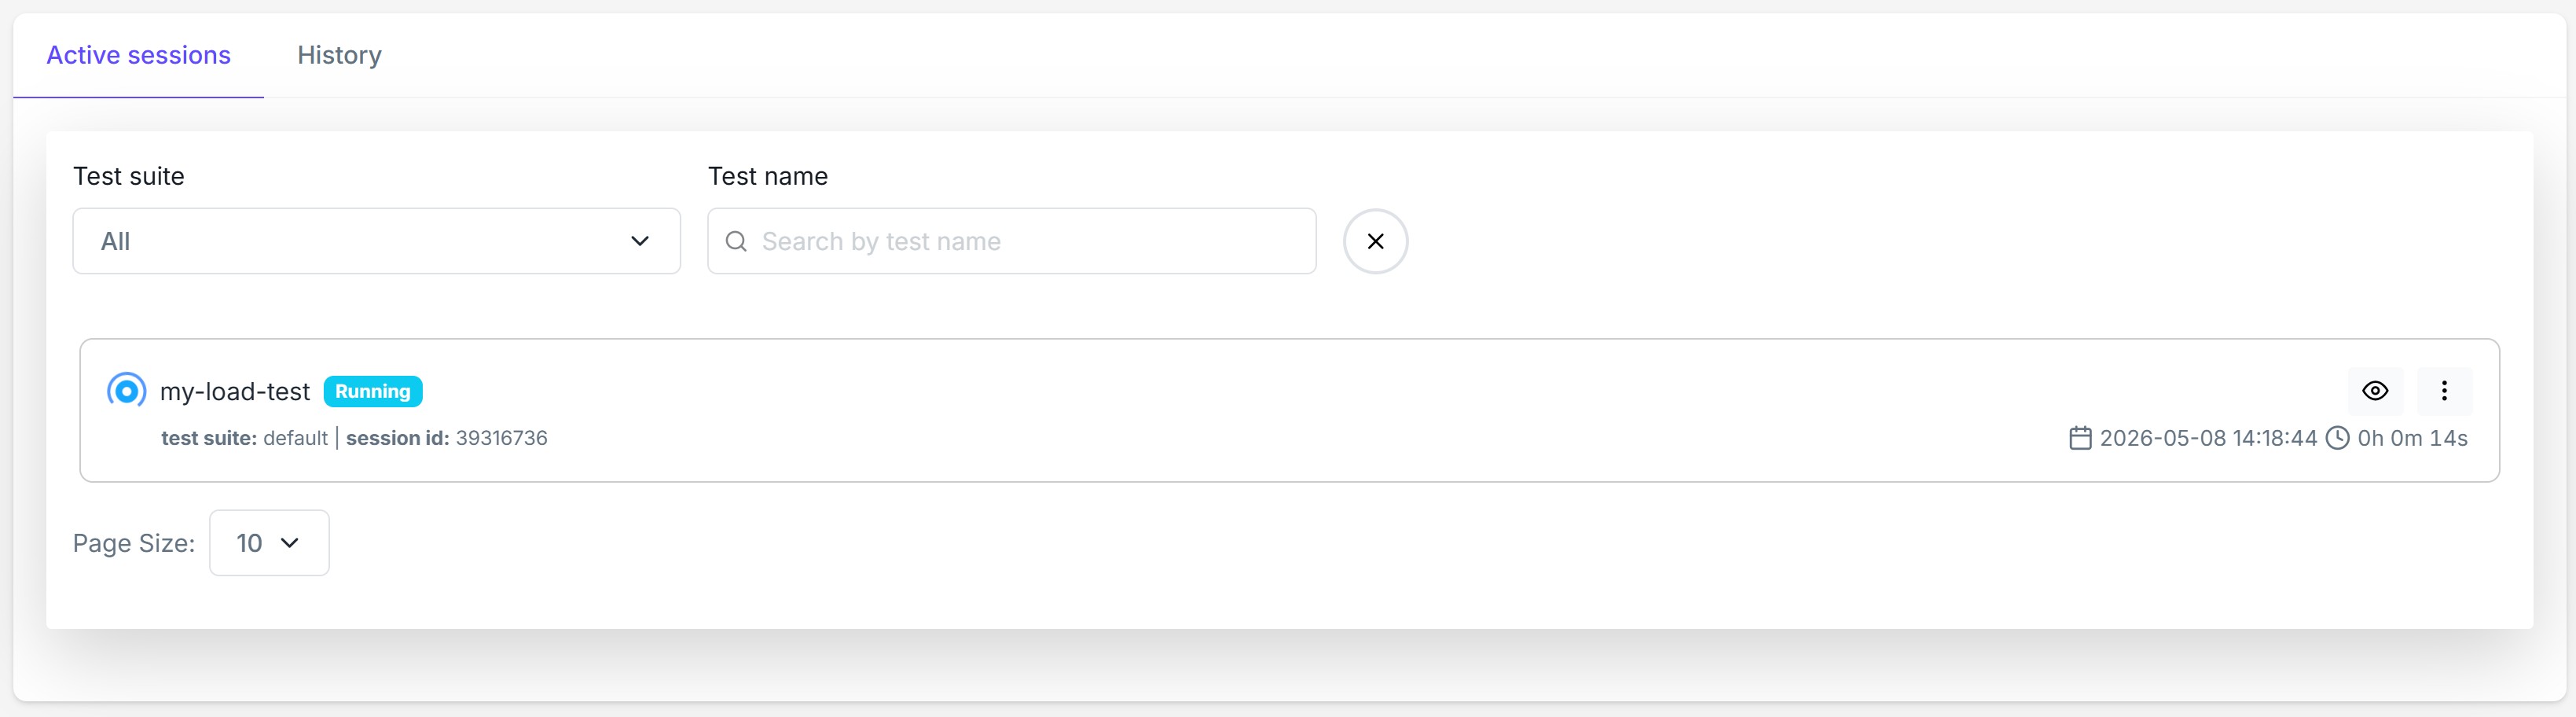
Click Create to save the script. You're now ready to schedule and run the test by clicking the Run button on the load test item.
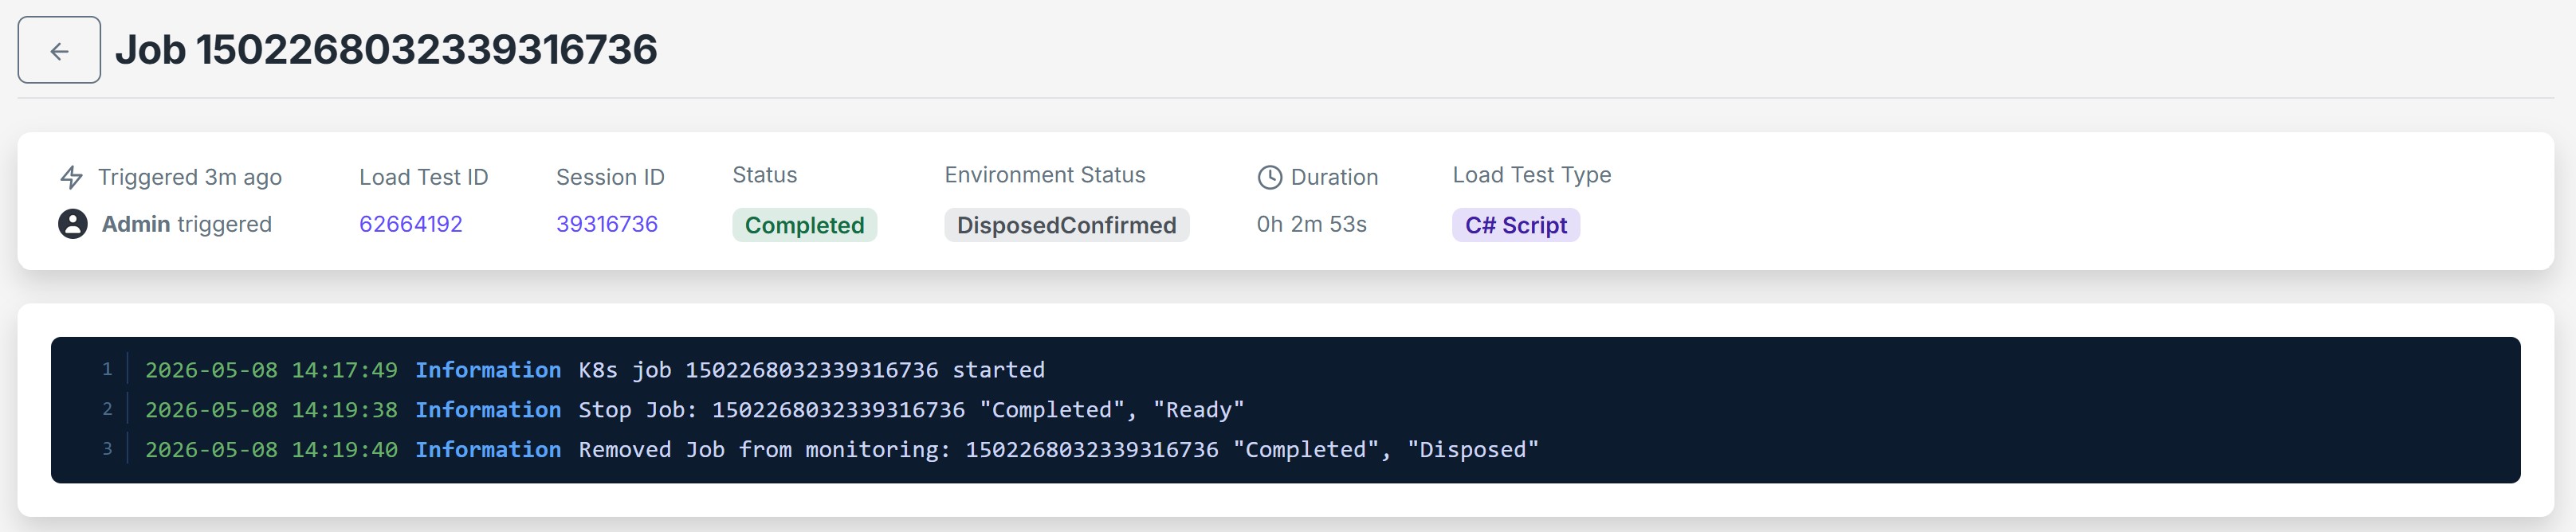
After clicking Run, NBomber Studio compiles the script, creates the necessary resources in K8s, and schedules the test. Startup usually takes about 1-2 minutes, after which the test session becomes visible in the Runs view:
When the test finishes, Studio will clean up all K8s resources it created. You can see this in the Jobs tab of the selected load test: